
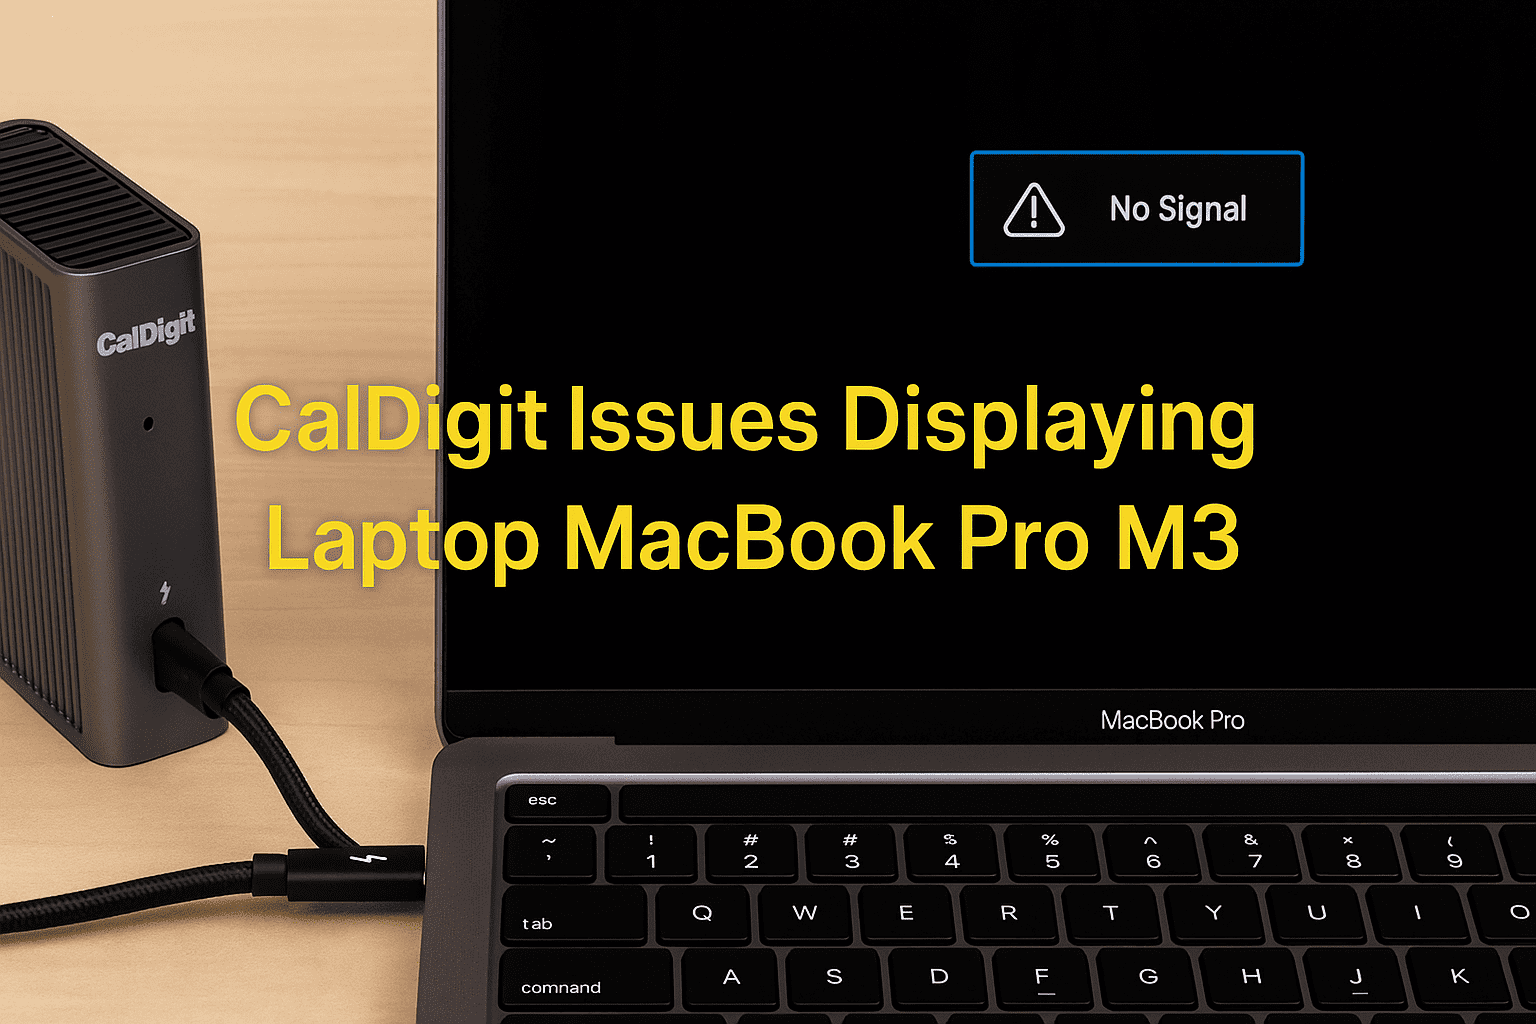
If you’ve recently invested in Apple’s latest silicon beast and found yourself facing CalDigit issues displaying laptop MacBook Pro M3, you’re definitely not alone. While the MacBook Pro M3 is a powerhouse with impressive specs, many users are running into unexpected hiccups when trying to connect it to external displays through CalDigit docks. Whether it’s a black screen, resolution errors, flickering displays, or just plain no signal—these display issues can be frustrating, especially when you expect everything to work smoothly out of the box.
This guide is here to help. We’ll break down exactly why these issues are occurring, how CalDigit devices interact with the M3 chip, and most importantly, the best solutions you can try to fix these display woes. By the end, you’ll not only understand what’s going on but also know how to get your MacBook Pro M3 and CalDigit dock working in perfect harmony.
Why Are CalDigit and MacBook Pro M3 Users Experiencing Display Issues?
Let’s get one thing straight: both CalDigit and Apple are known for producing high-end hardware. So when you combine the two, it’s natural to expect flawless performance. However, that’s not always the case. Here are a few reasons why CalDigit issues displaying laptop MacBook Pro M3 are surfacing more often in forums, Reddit threads, and Apple Support discussions:
1. macOS Sonoma and USB-C/Thunderbolt Changes
Apple’s macOS Sonoma update introduced subtle changes in how Thunderbolt and USB-C ports handle DisplayPort protocols. These changes have inadvertently affected the compatibility of third-party docks like CalDigit TS4 or TS3 Plus, leading to display handshake failures or missing resolutions.
2. New M3 Display Architecture
The M3 chip uses a different display pipeline compared to its M1 and M2 predecessors. Some CalDigit docks are struggling to keep up with the changes, particularly when driving high refresh rate or ultra-wide monitors.
3. Firmware and Software Incompatibilities
Many users haven’t updated their CalDigit firmware or dock utility software since plugging it in. As a result, outdated software can’t fully communicate with the MacBook’s latest display protocols, leading to distorted or broken outputs.
4. Cable Quality and Power Delivery Conflicts
Believe it or not, even the USB-C or Thunderbolt cable you’re using can play a critical role. Some cables do not support full DisplayPort Alt Mode or deliver inconsistent power, which confuses the dock and laptop.
Common Display Problems Users Report with CalDigit and MacBook Pro M3
Let’s take a look at the exact types of issues users are running into. These are all commonly reported problems when using a CalDigit dock with the MacBook Pro M3:
External display not recognized: The MacBook doesn’t detect the monitor at all.
Display flickering or flashing: Inconsistent signal often causes black screens or flickers.
Wrong resolution or aspect ratio: Especially with ultra-wide or 4K displays.
Only mirroring, not extending: Some setups won’t allow display extension.
Dock disconnects randomly: In worst-case scenarios, the entire CalDigit dock loses connection.
Step-by-Step Fixes for CalDigit Display Issues on MacBook Pro M3
Here’s the good news: most of these problems can be fixed with a bit of tweaking. Let’s walk through the solutions step-by-step.
Step 1: Update Your CalDigit Dock Firmware
Before diving into more technical solutions, make sure you’re running the latest firmware on your CalDigit dock. CalDigit frequently releases updates to improve compatibility with new macOS versions and Apple silicon.
Visit CalDigit’s support page
Download the latest firmware updater for your model (TS4, TS3 Plus, etc.)
Follow on-screen instructions carefully—do not unplug the dock during the process
This single step resolves display detection issues in many cases.
Step 2: Update macOS to the Latest Version
macOS Sonoma, while powerful, still has ongoing display bug fixes in newer sub-updates. Always stay up to date:
Go to System Settings > General > Software Update
Install any pending updates
Reboot your MacBook after updating
These updates often include fixes for USB-C/Thunderbolt bugs related to display output.
Step 3: Use Certified Thunderbolt 4 or DisplayPort 1.4 Cables
You’d be surprised how many display issues come from bad or insufficient cables. Make sure your cables:
Support Thunderbolt 4 (40Gbps) or DisplayPort 1.4
Are certified by Apple or CalDigit (check packaging or brand website)
Are under 2 meters in length for optimal signal transmission
Replace any off-brand USB-C cables, especially if they were bundled with other cheap accessories.
Step 4: Reset SMC and NVRAM
Sometimes, display output bugs can be fixed with a reset of your system’s management controller:
To reset NVRAM:
Shut down your Mac
Turn it on and immediately press Option + Command + P + R
Hold for 20 seconds, then release
To reset the SMC:
Modern Apple Silicon Macs don’t have a traditional SMC reset, but a full shutdown for 30 seconds mimics the effect.
Step 5: Manually Detect Displays
Still not seeing your external display?
Go to System Settings > Displays
Press the Option key — a “Detect Displays” button will appear
Click it and see if the Mac recognizes the external monitor
If it shows up but looks distorted, manually configure the resolution and refresh rate.
Advanced Troubleshooting: Terminal Commands & Monitor Overrides
If you’re technically inclined and still facing problems, these advanced solutions may help.
Create a Display Override File
macOS sometimes misreads display EDID (Extended Display Identification Data), especially with older monitors or certain CalDigit docks. You can create a custom override:
Use SwitchResX (third-party app) to force a custom resolution and refresh rate.
Navigate to
/System/Library/Displays/Contents/Resources/OverridesDrop in the override file that matches your display’s model.
Use Terminal to Reset Display Services
This command resets the macOS display configuration daemon and has been known to fix persistent detection issues after a reboot.
Recommended CalDigit Alternatives That Work Better with MacBook Pro M3
While we hope CalDigit resolves these issues swiftly with updates, some users might consider alternatives for flawless M3 compatibility. Here are a few proven docks and hubs:
1. OWC Thunderbolt Hub
Native M3 support
Full 4K @ 60Hz output support
HDMI + USB-C + Ethernet
2. Anker PowerExpand 12-in-1 Dock
HDMI 2.0 + DisplayPort
High wattage charging
Great cable organization
3. Belkin Thunderbolt 4 Dock Pro
Seamless Mac integration
Dual 4K displays supported
Reliable performance with M1, M2, and M3 chips
Tips for a Stable Long-Term Setup
Once you’ve resolved the current issues, here’s how to prevent them from returning:
Regularly update macOS and CalDigit firmware
Label your cables to avoid mismatching ports
Reboot your Mac weekly (avoids software buffer issues)
Avoid chaining multiple adapters (use direct connections where possible)
Join forums or Reddit communities (r/macbook, r/CalDigit) for the latest news
Final Thoughts: Resolving CalDigit Display Glitches with MacBook Pro M3
The release of Apple’s MacBook Pro M3 has raised the bar in terms of performance and efficiency, but compatibility with third-party accessories—like CalDigit docks—hasn’t caught up just yet. If you’re facing CalDigit issues displaying laptop MacBook Pro M3, don’t worry. It’s a common problem, and more often than not, a solvable one.
Whether it’s a simple firmware update or a more technical fix, the solutions listed above should get your display setup working flawlessly again. Until manufacturers fully align their products with Apple’s evolving hardware and software, users might occasionally have to do a bit of manual tweaking.
But when everything is set up right, you’ll enjoy a professional-grade workstation experience that takes full advantage of your MacBook’s capabilities—and that’s absolutely worth the effort.
