
If you’re wondering how to connect projector to laptop, you’re in the right place. Whether you’re giving a presentation at work, watching a movie at home, or teaching a class, connecting your laptop to a projector is easier than you think. This guide will show you all the simple ways—HDMI, VGA, USB-C, and wireless—to get the job done quickly.
1. What You Need Before Connecting

Before you begin, check the following items:
- Projector with compatible input ports (HDMI, VGA, or Wi-Fi support)
- Laptop with output ports (HDMI, VGA, USB-C, etc.)
- Cables or adapters (HDMI cable, VGA cable, or USB-C to HDMI adapter)
- Power source for both devices
- Remote or control panel access for the projector
Make sure the projector is set up on a flat surface and turned on. Set it to the correct input source.
2. How to Connect Projector to Laptop Using HDMI

HDMI is the most common and easiest way to connect.
Step-by-step:
- Turn off both devices.
- Plug one end of the HDMI cable into the laptop.
- Plug the other end into the projector.
- Turn on the projector and then the laptop.
- Press
Windows + Pand choose Duplicate or Extend.
On Mac, go to System Preferences > Displays, then select the projector.
Tip: If the audio doesn’t play through the projector, right-click the sound icon > Sound settings > Output > select the projector.
More on HDMI setup: BenQ HDMI guide
3. Connecting with VGA (For Older Devices)

Some older laptops and projectors still use VGA.
Steps:
- Connect the VGA cable from laptop to projector.
- Use a separate 3.5mm audio cable for sound.
- Select VGA input on the projector.
- Adjust resolution if the image looks off.
Note: VGA only supports video, not sound.
Learn more at XGIMI Blog
4. How to Use USB-C to HDMI Adapters

Modern laptops often only have USB-C ports.
Here’s how to connect:
- Get a USB-C to HDMI adapter.
- Plug the adapter into your laptop.
- Plug HDMI from adapter to projector.
- Select HDMI input on the projector.
Tip: Make sure your USB-C port supports video output (not all do).
Example adapters: Anker USB-C to HDMI on Amazon
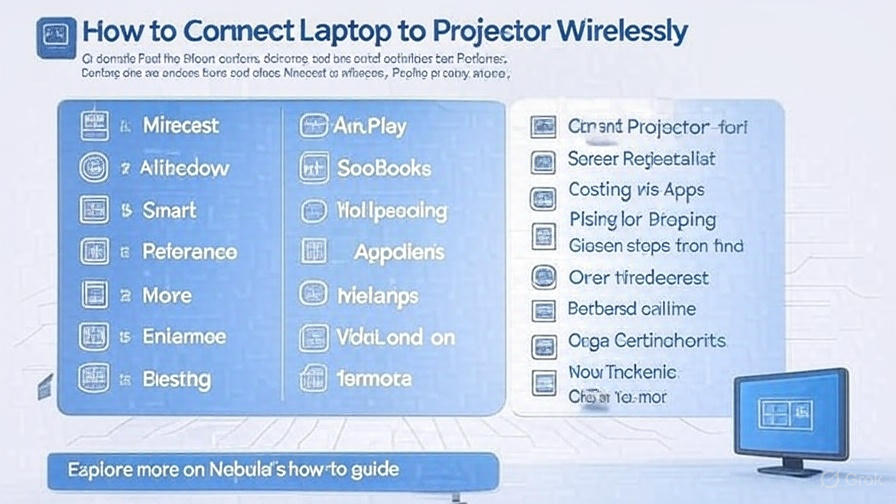
5. How to Connect Laptop to Projector Wirelessly

If you prefer no cables, wireless projection is an option.
a. Using Miracast (Windows)
- Press
Windows + K. - Select your projector (if it supports Miracast).
b. Using AirPlay (MacBooks)
- Connect to the same Wi-Fi.
- Click the screen mirroring icon > choose projector.
c. Smart Projectors
- Many modern projectors (like Dangbei and Nebula) allow screen casting via apps.
Explore more options on Nebula’s how-to guide
6. Screen Mirroring vs. Extended Display
- Mirroring: Shows the same screen on both devices.
- Extended: Lets you use the projector as a second monitor.
Windows: Windows + P to switch.
Mac: System Preferences > Displays > Arrangement tab.
7. Common Problems and How to Fix Them
a. No Signal Detected
- Recheck cable connections.
- Ensure projector is set to correct input.
b. Audio Not Working
- Go to sound settings and change output to projector.
c. Distorted Display
- Adjust resolution to match projector.
d. Wireless Lag or Delay
- Reduce the distance between devices.
- Use 5GHz Wi-Fi for better performance.
8. How to Use Projector with Zoom or Google Meet
- Join the meeting.
- Connect the projector.
- Share the screen from your laptop.
Tip: Use extended display if you want speaker notes visible only to you.
9. Projector Types & Compatibility
- DLP vs LCD: LCD gives brighter images; DLP is more compact.
- Resolution: 1080p works for most needs; 4K is best for cinema.
- Smart Projectors: Great for wireless streaming.
10. Tips for the Best Projection Quality
- Darken the room for better clarity.
- Use keystone correction to align the image.
- Place the projector straight in front of the screen.
- Clean your lens for best focus.
Conclusion
Now you know how to connect projector to laptop in multiple easy ways—HDMI, VGA, USB-C, or wirelessly. Whether you’re setting up for a movie night or a big meeting, following these steps will help you get a crisp, clear display in minutes.
Want more tech how-tos? Visit Microsoft’s official support page.
