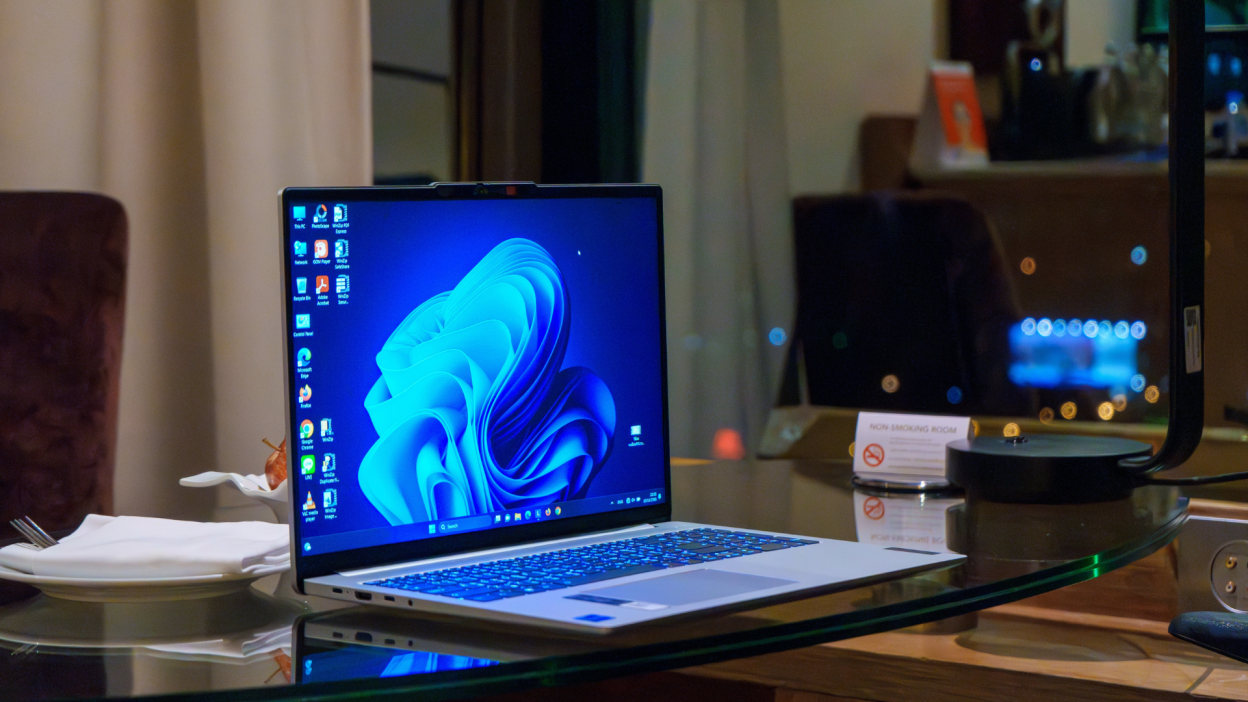
In today’s world, staying connected to the internet is essential. Did you know that your Windows laptop or PC can serve as a WiFi hotspot? This feature is a lifesaver when you need to share your internet connection with other devices. Whether you’re at home, in the office, or on the go, turning your computer into a WiFi hotspot is quick and easy. Let’s walk through how you can do it.
Why Turn Your PC Into a WiFi Hotspot?
There are many reasons to transform your laptop or PC into a WiFi hotspot. One of the main benefits is sharing a single internet connection with multiple devices, whether it’s your smartphone, tablet, or another computer. This can come in handy when there is no other WiFi network available, but you still need to connect multiple devices.
How to Enable WiFi Hotspot on Windows 10 or 11
Here’s how to turn your Windows PC or laptop into a WiFi hotspot using the built-in settings.
- Open the Settings Menu
- Press the Windows key and click on the Settings icon (or type “Settings” into the search bar).
- Navigate to Network & Internet
- In the Settings window, select Network & Internet.
- Find Mobile Hotspot
- Scroll down and find the Mobile Hotspot option on the left-hand panel.
- Activate Mobile Hotspot
- Toggle the switch to turn on the Mobile Hotspot feature.
- You can choose the network to share and configure the settings according to your needs.
- Connect Other Devices
- On your other devices, search for the WiFi network your PC is broadcasting and connect using the password displayed under the Mobile Hotspot settings.
Using Command Prompt to Set Up a WiFi Hotspot
If you prefer using the Command Prompt to set up a WiFi hotspot, here’s another method that works.
- Run Command Prompt as Administrator
- Press the Windows key, type cmd, and select Run as administrator.
- Create the Hotspot
- Type the following command:vbnet
netsh wlan set hostednetwork mode=allow ssid=YourNetworkName key=YourPassword
Replace
YourNetworkNamewith your preferred network name andYourPasswordwith a secure password.
- Type the following command:
- Start the Hotspot
- After creating the hosted network, start the WiFi hotspot by typing:sql
netsh wlan start hostednetwork
- After creating the hosted network, start the WiFi hotspot by typing:
- Stop the Hotspot
- When you’re finished, you can stop the hotspot with the command:arduino
netsh wlan stop hostednetwork
- When you’re finished, you can stop the hotspot with the command:
Troubleshooting Common Issues
Sometimes, turning your PC into a WiFi hotspot might not work as smoothly as expected. Here are some common troubleshooting tips:
- Check Network Drivers: Ensure your WiFi adapter drivers are up-to-date. Outdated drivers may prevent your hotspot from functioning.
- Network Sharing Settings: Verify that the internet connection you wish to share is properly configured in the Network Sharing Center.
- Firewall Settings: Sometimes, your firewall might block the connection. Temporarily disabling the firewall can help determine if this is the issue.
Benefits of Using a PC as a WiFi Hotspot
There are several benefits to using your PC as a hotspot:
- Cost-Effective: It eliminates the need for a separate router or hotspot device.
- Flexibility: Share your internet connection with multiple devices at once, making it ideal for personal and professional use.
- On-the-Go Connectivity: When you’re traveling and have access to a wired internet connection but no WiFi, your laptop can become your portable WiFi hub.
Conclusion
Using your Windows laptop or PC as a WiFi hotspot is a powerful and convenient way to share your internet connection with other devices. Whether you use the built-in Windows settings or the command prompt method, setting up a WiFi hotspot is simple and effective. Stay connected anywhere and share your internet with ease.


Leave a Review