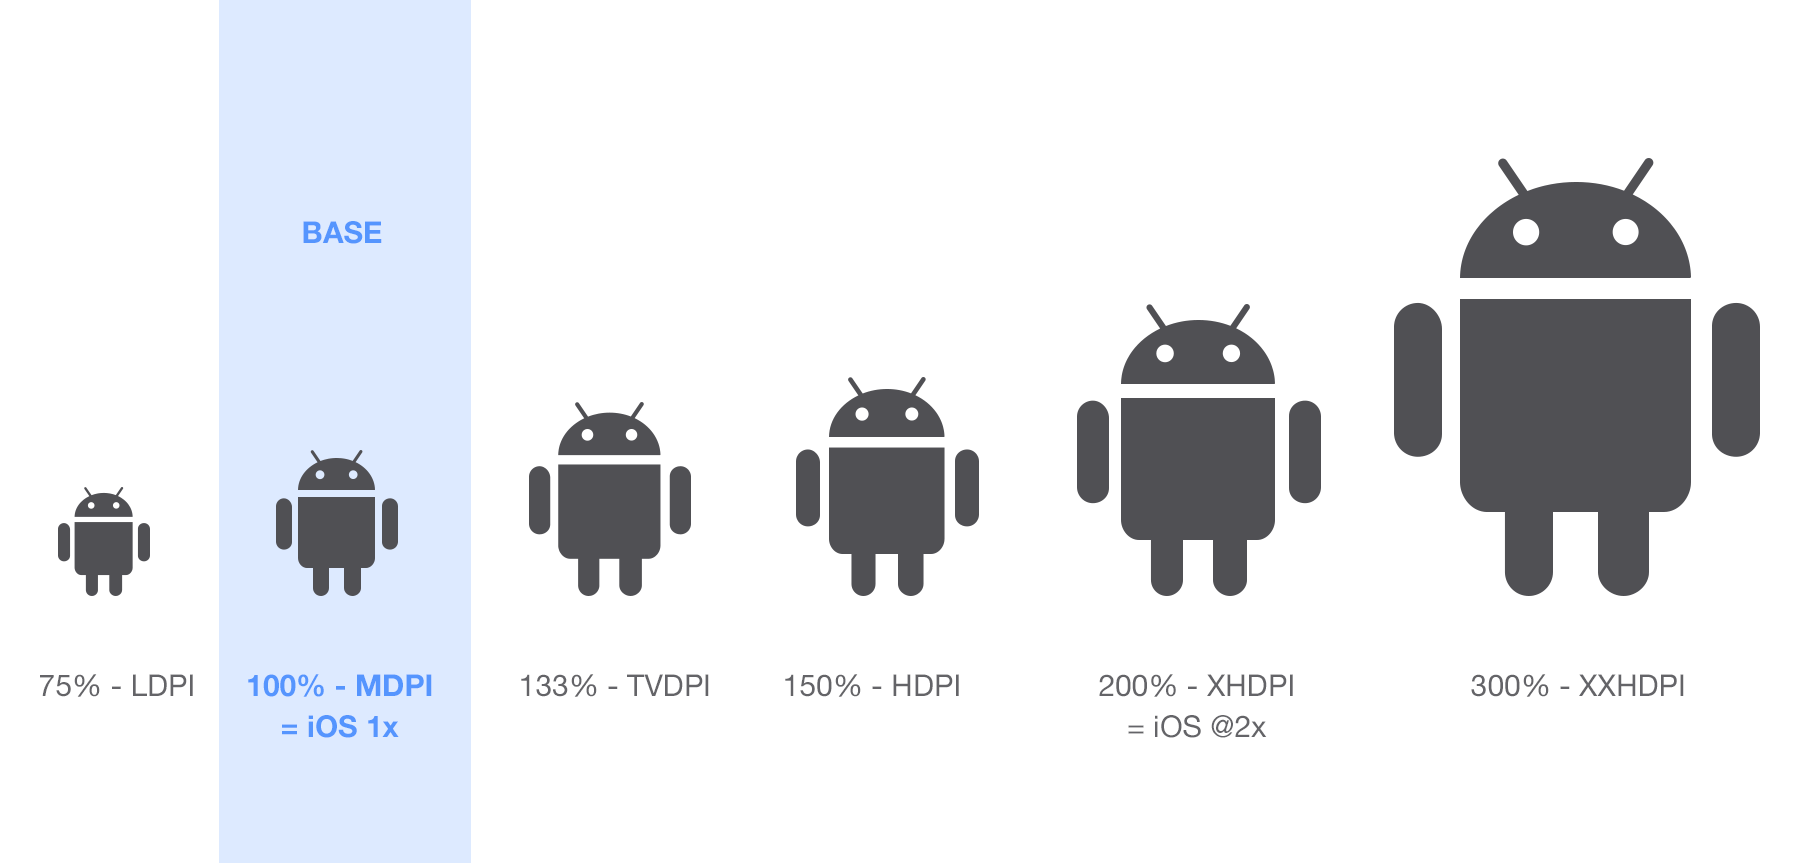
If you’re looking to enhance your Android experience, understanding DPI settings is crucial. DPI, or dots per inch, determines the size of the content on your screen. By adjusting these settings, you can customize your display for better readability and usability. This guide will introduce you to a total different way to approach Android DPI settings, offering a unique perspective on how to optimize your device.
What is DPI and Why Does It Matter?
DPI stands for dots per inch, and it’s a measure of the screen’s pixel density. Higher DPI means more pixels per inch, resulting in sharper images and text. Conversely, lower DPI can make on-screen elements appear larger and more readable. Adjusting DPI settings allows you to tailor the display to your preferences, whether you want everything to be more compact or easier to see.
Traditional Methods vs. A Total Different Way
Traditionally, users adjust DPI settings through the device’s developer options or by using third-party apps. While effective, these methods can be cumbersome and may not always deliver the desired results. Instead, we propose a total different way to manage your DPI settings that focuses on simplicity and precision.
Step-by-Step Guide to a Total Different Way of Adjusting DPI
- Access Developer Options: First, enable developer options by going to Settings > About Phone and tapping the Build Number seven times. This unlocks additional settings that are crucial for DPI adjustments.
- Use ADB Commands: Instead of relying on device settings alone, use ADB (Android Debug Bridge) commands for more precise control. Connect your device to a computer and open a command prompt or terminal window. Enter the following command to check your current DPI:
adb shell wm density
To change the DPI, use:
cssadb shell wm density [desired DPI]
Replace
[desired DPI]with the value you want. For instance, setting it to 420 can make the interface more compact. - Third-Party Apps: For those who prefer not to use ADB commands, third-party apps like “DPI Changer” can offer a user-friendly interface for making adjustments. However, ensure that these apps are reputable and have good reviews to avoid any potential issues.
- Reboot Your Device: After making changes, always reboot your device to ensure the new settings take effect.
Benefits of This Total Different Way
- Precision: Using ADB commands provides precise control over DPI settings, allowing you to find the perfect balance for your needs.
- Customization: Tailor your display to suit your preferences, whether you need larger icons and text or a more compact interface.
- Improved Usability: Enhanced readability and usability can make your device more comfortable to use, especially for those with visual impairments.
Troubleshooting and Tips
- Backup Your Settings: Before making any changes, it’s wise to note down your current DPI settings or create a backup. This allows you to revert if needed.
- Gradual Changes: Adjust DPI settings gradually to avoid drastic changes that might make your device difficult to use.
- Consult Forums: Online forums and communities can be valuable resources for tips and troubleshooting. Engage with other users to share experiences and solutions.
You can visit our page to know more about Android
Conclusion
Adjusting DPI settings is a powerful way to enhance your Android experience. By adopting a total different way that combines traditional methods with modern techniques like ADB commands, you can achieve a display that perfectly matches your needs. Whether you seek better readability or a more compact interface, mastering DPI settings can significantly improve your interaction with your device.


Leave a Review